Tangible Interfaces Drum Machine
This project builds a physical controller for a browser-based drum machine, inspired by classic machines like the Roland 808. Drum machines are the foundation of modern music — from disco to techno. They play short audio samples in repeating loops, letting musicians program rhythms by placing hits at specific moments on a timeline. The iconic “four on the floor” rock beat, for example, is simply a bass drum on every fourth step.
Musicians used these tools to create complex compositions starting in the late 1970s. While synthesizers use a piano keyboard, drum machines have always had a more grid-like interface — and today that grid is usually on a screen. This project brings it back to physical controls.
How It Works
The project has two parts: a microbit microcontroller and a web page.
The physical controls — sliders, knobs, and a button — connect to the microbit. The microbit reads the control inputs and sends them over a USB serial connection to the web page. The web page displays the drum grid, plays the audio samples, and updates in real time as you turn knobs and move sliders.
Drum Machine Web Page
https://turbek.com/tangible-interfaces-drum-machine/drum_machine.html
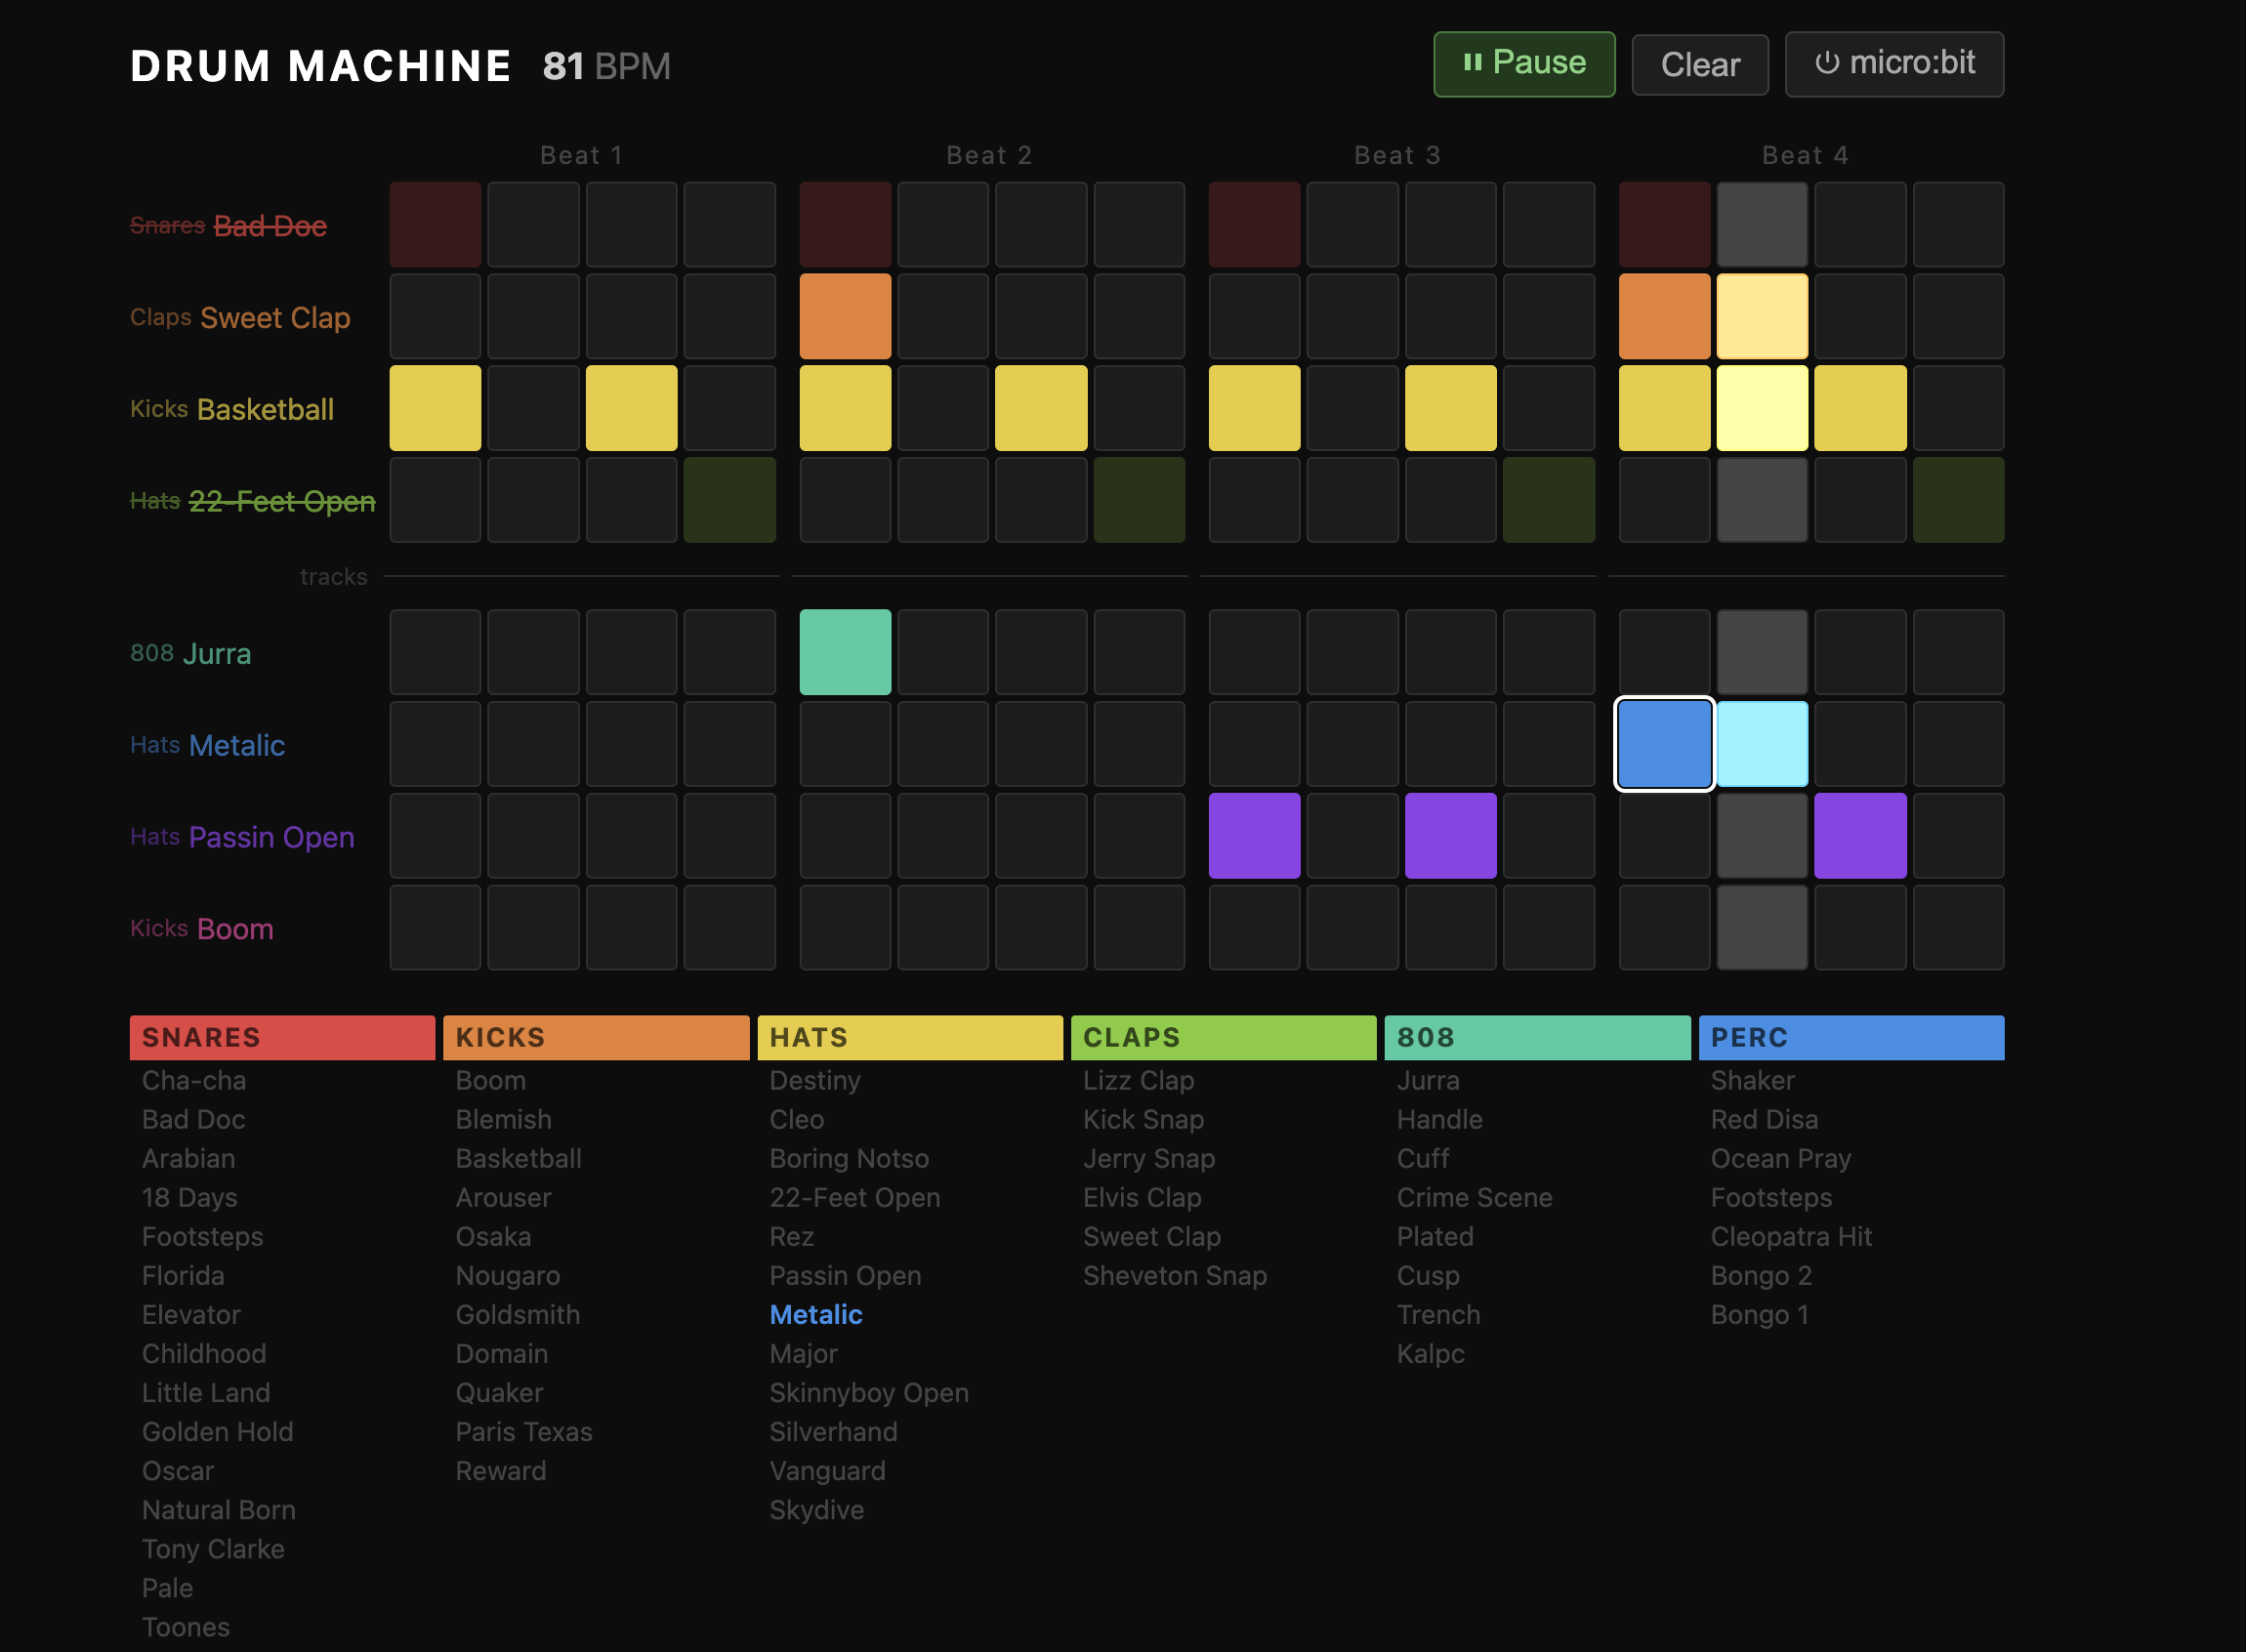
The web page shows a 16-step by 8-track grid. Each row is one instrument track, and each column is one step in the rhythmic loop. Clicking a cell toggles whether that instrument plays on that step.
The tracks are split into two groups of four, with a horizontal divider between them. Each track label on the left shows the name of its current sample. A default loop is loaded when the page opens, with at least four active tracks.
Audio samples come from the 1LOVE Vintage Drum Kit on Freesound.org, which is released under a public domain license.
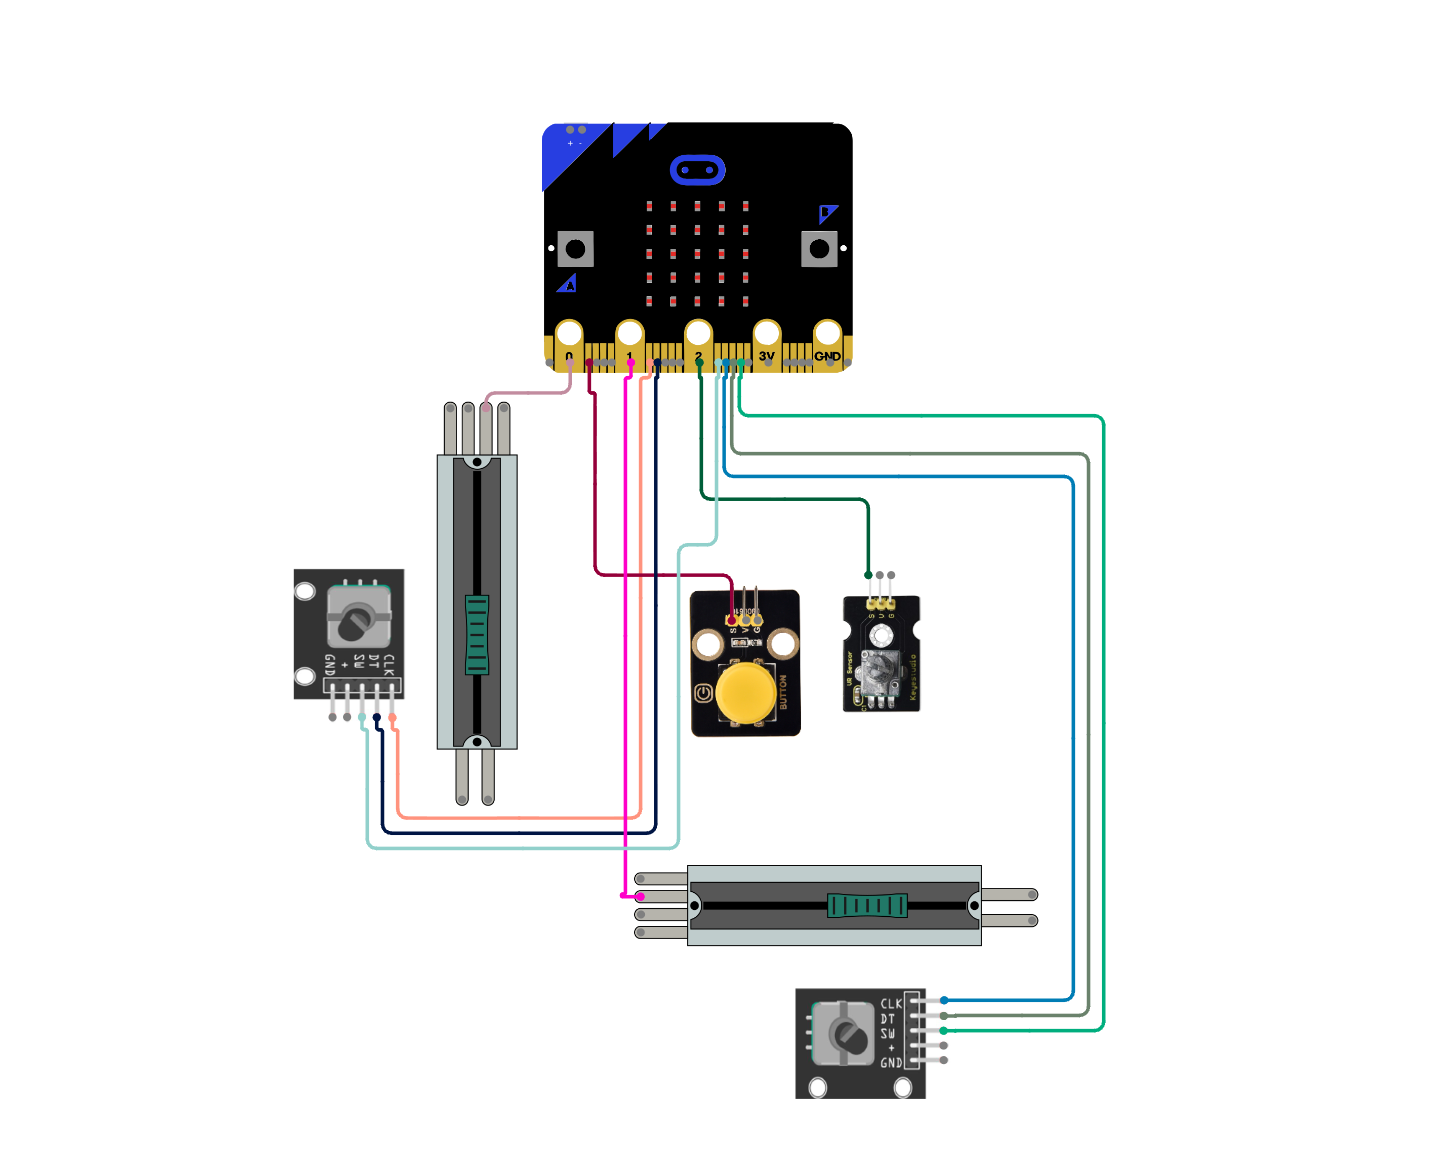
Microbit Program
The microbit program reads the sliders, knobs, and button, then sends the values as structured messages to the web page over USB serial.
View the microbit program source
Hardware
The hardware uses the microbit and several sensors to make the drum machine controller , but no complex engineering.
- Microbit v2
- Microbit breakout board (speeds up prototyping by making pins easy to wire)
- Sliding potentiometer — step: selects the current step on the timeline
- Sliding potentiometer — track: selects the current track
- Rotary potentiometer — tempo: sets the playback speed in beats per minute, covering a slow-to-fast disco range
- Rotary encoder — sample: selects the audio sample for the current track
- Rotary encoder — jog: shifts the entire track forward or backward to create rhythmic “swing”, or nudges a single selected hit
- Button: play / pause
- Jumper wires with socket ends
- USB cable
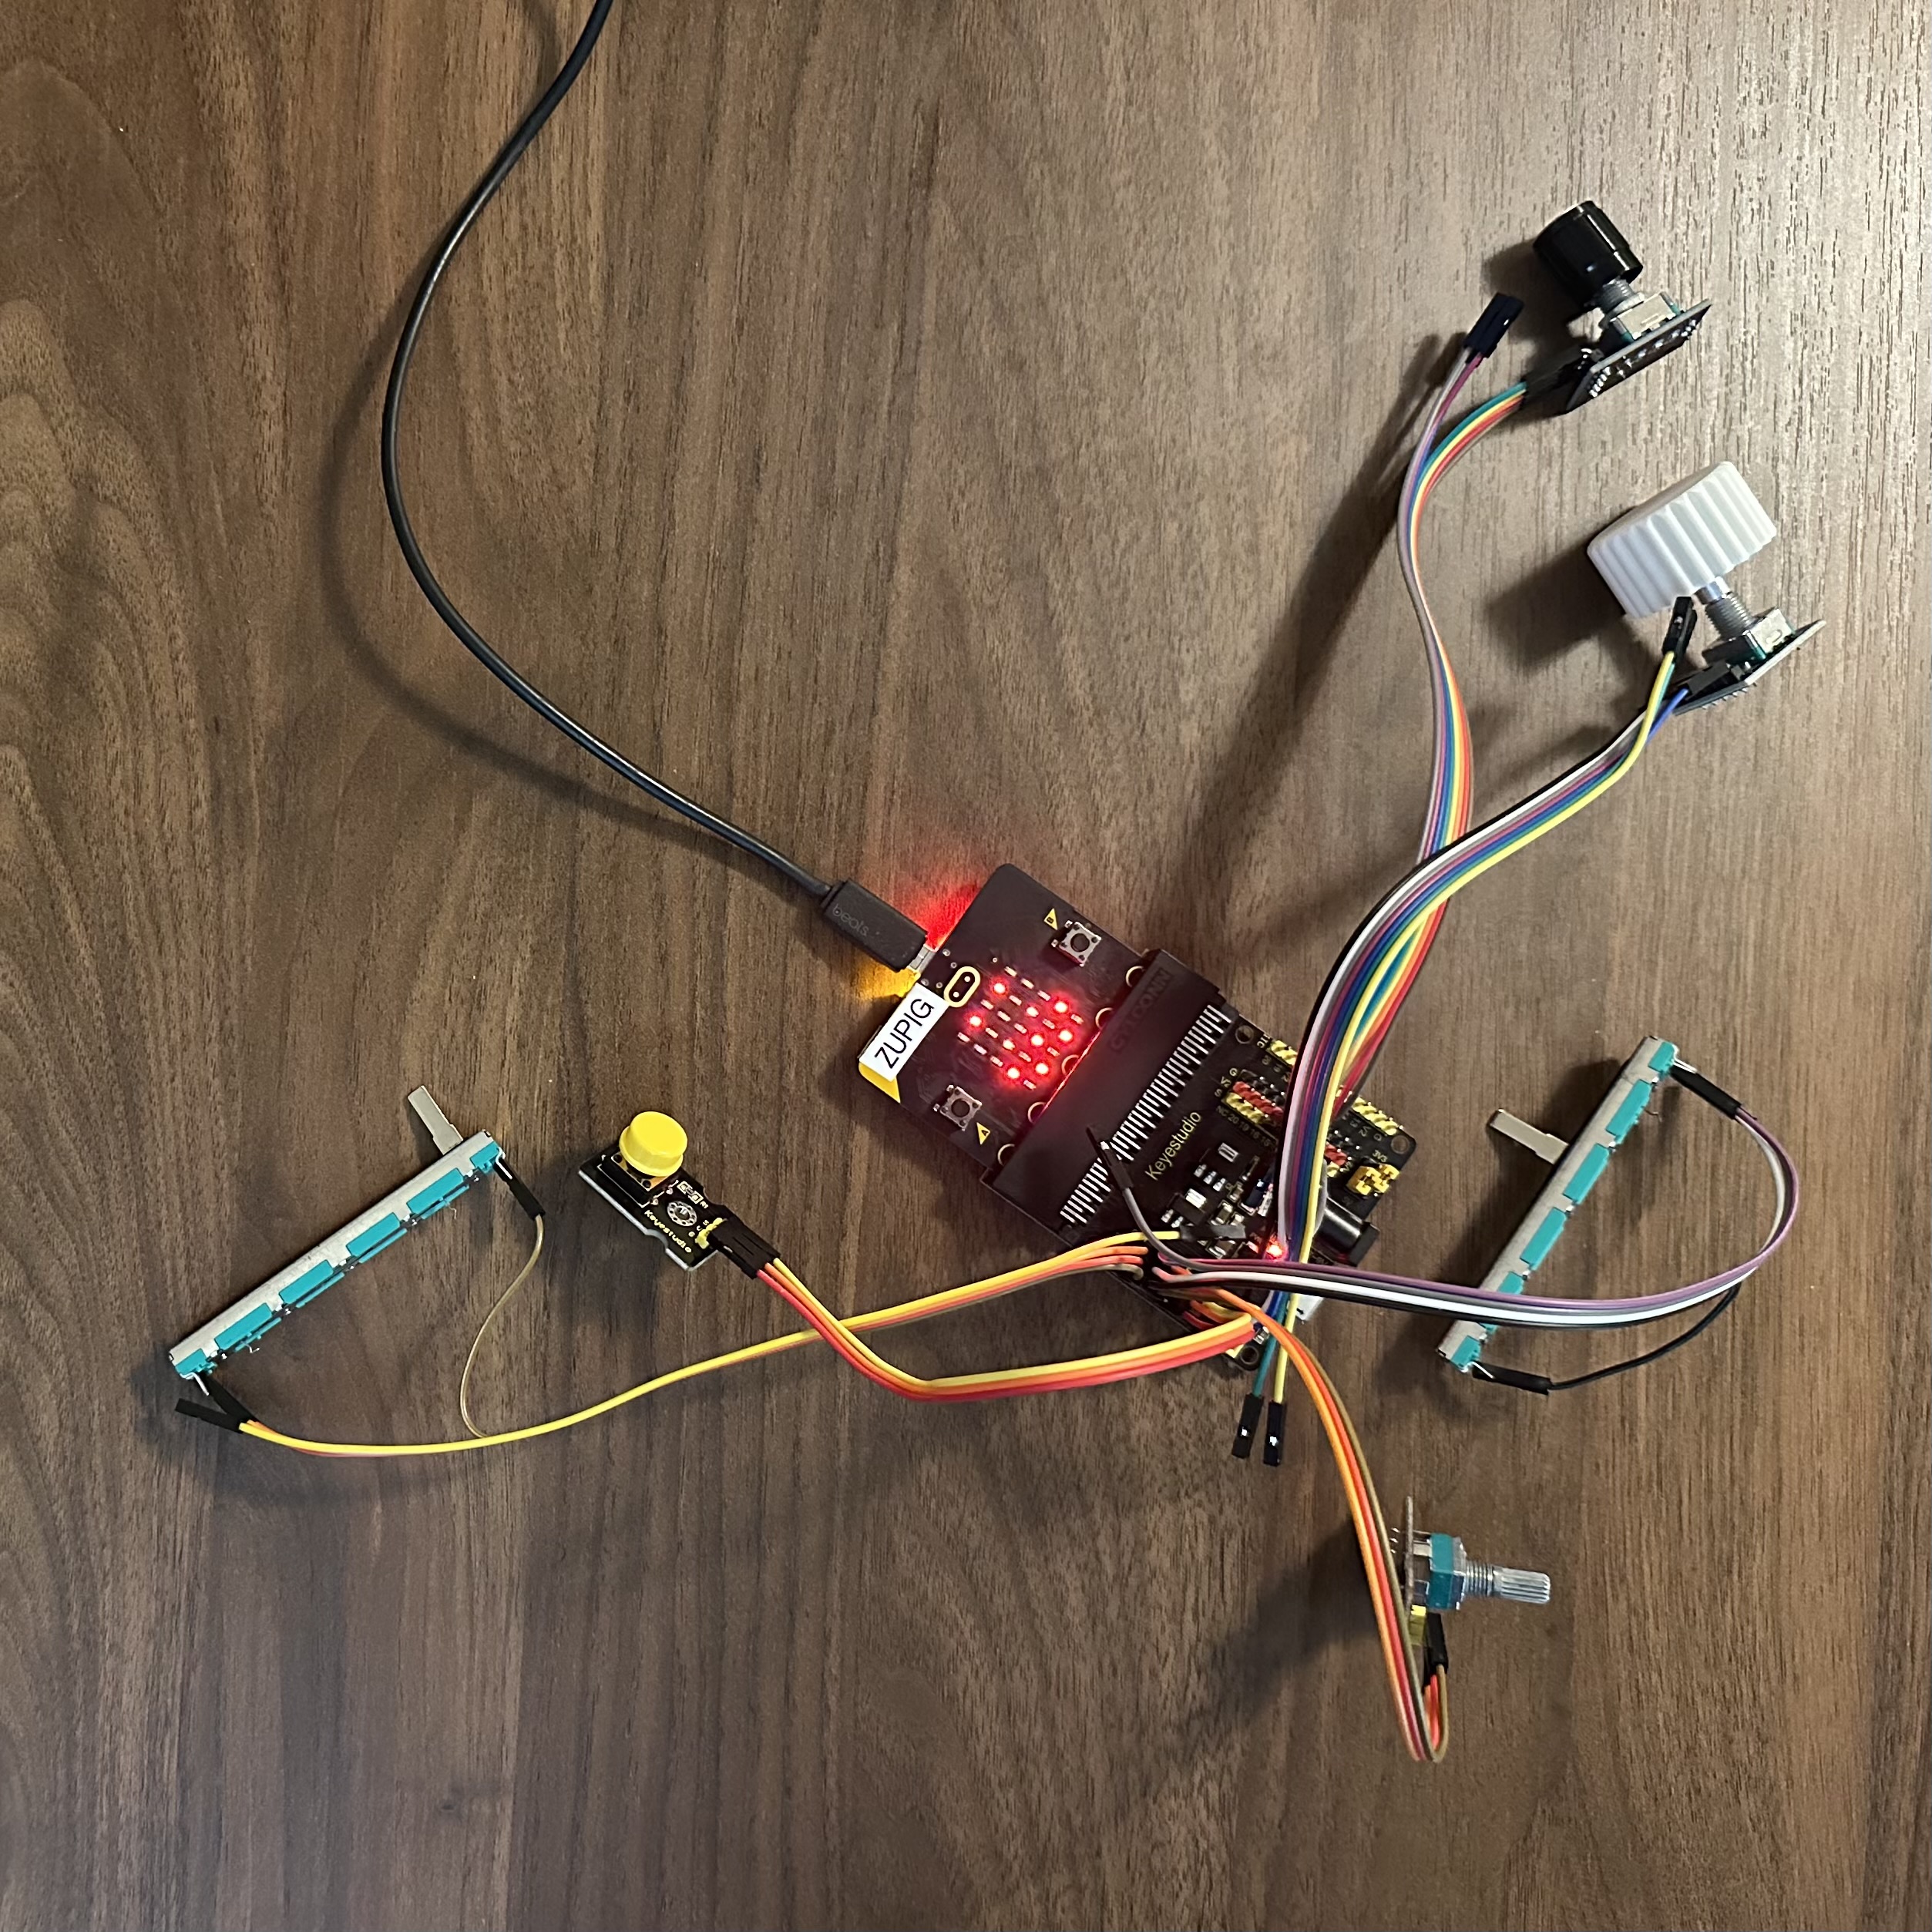
Prototype 1: Loose wires
The first prototype is just the components wired together on a desk. Quick to build and easy to change, but fragile.
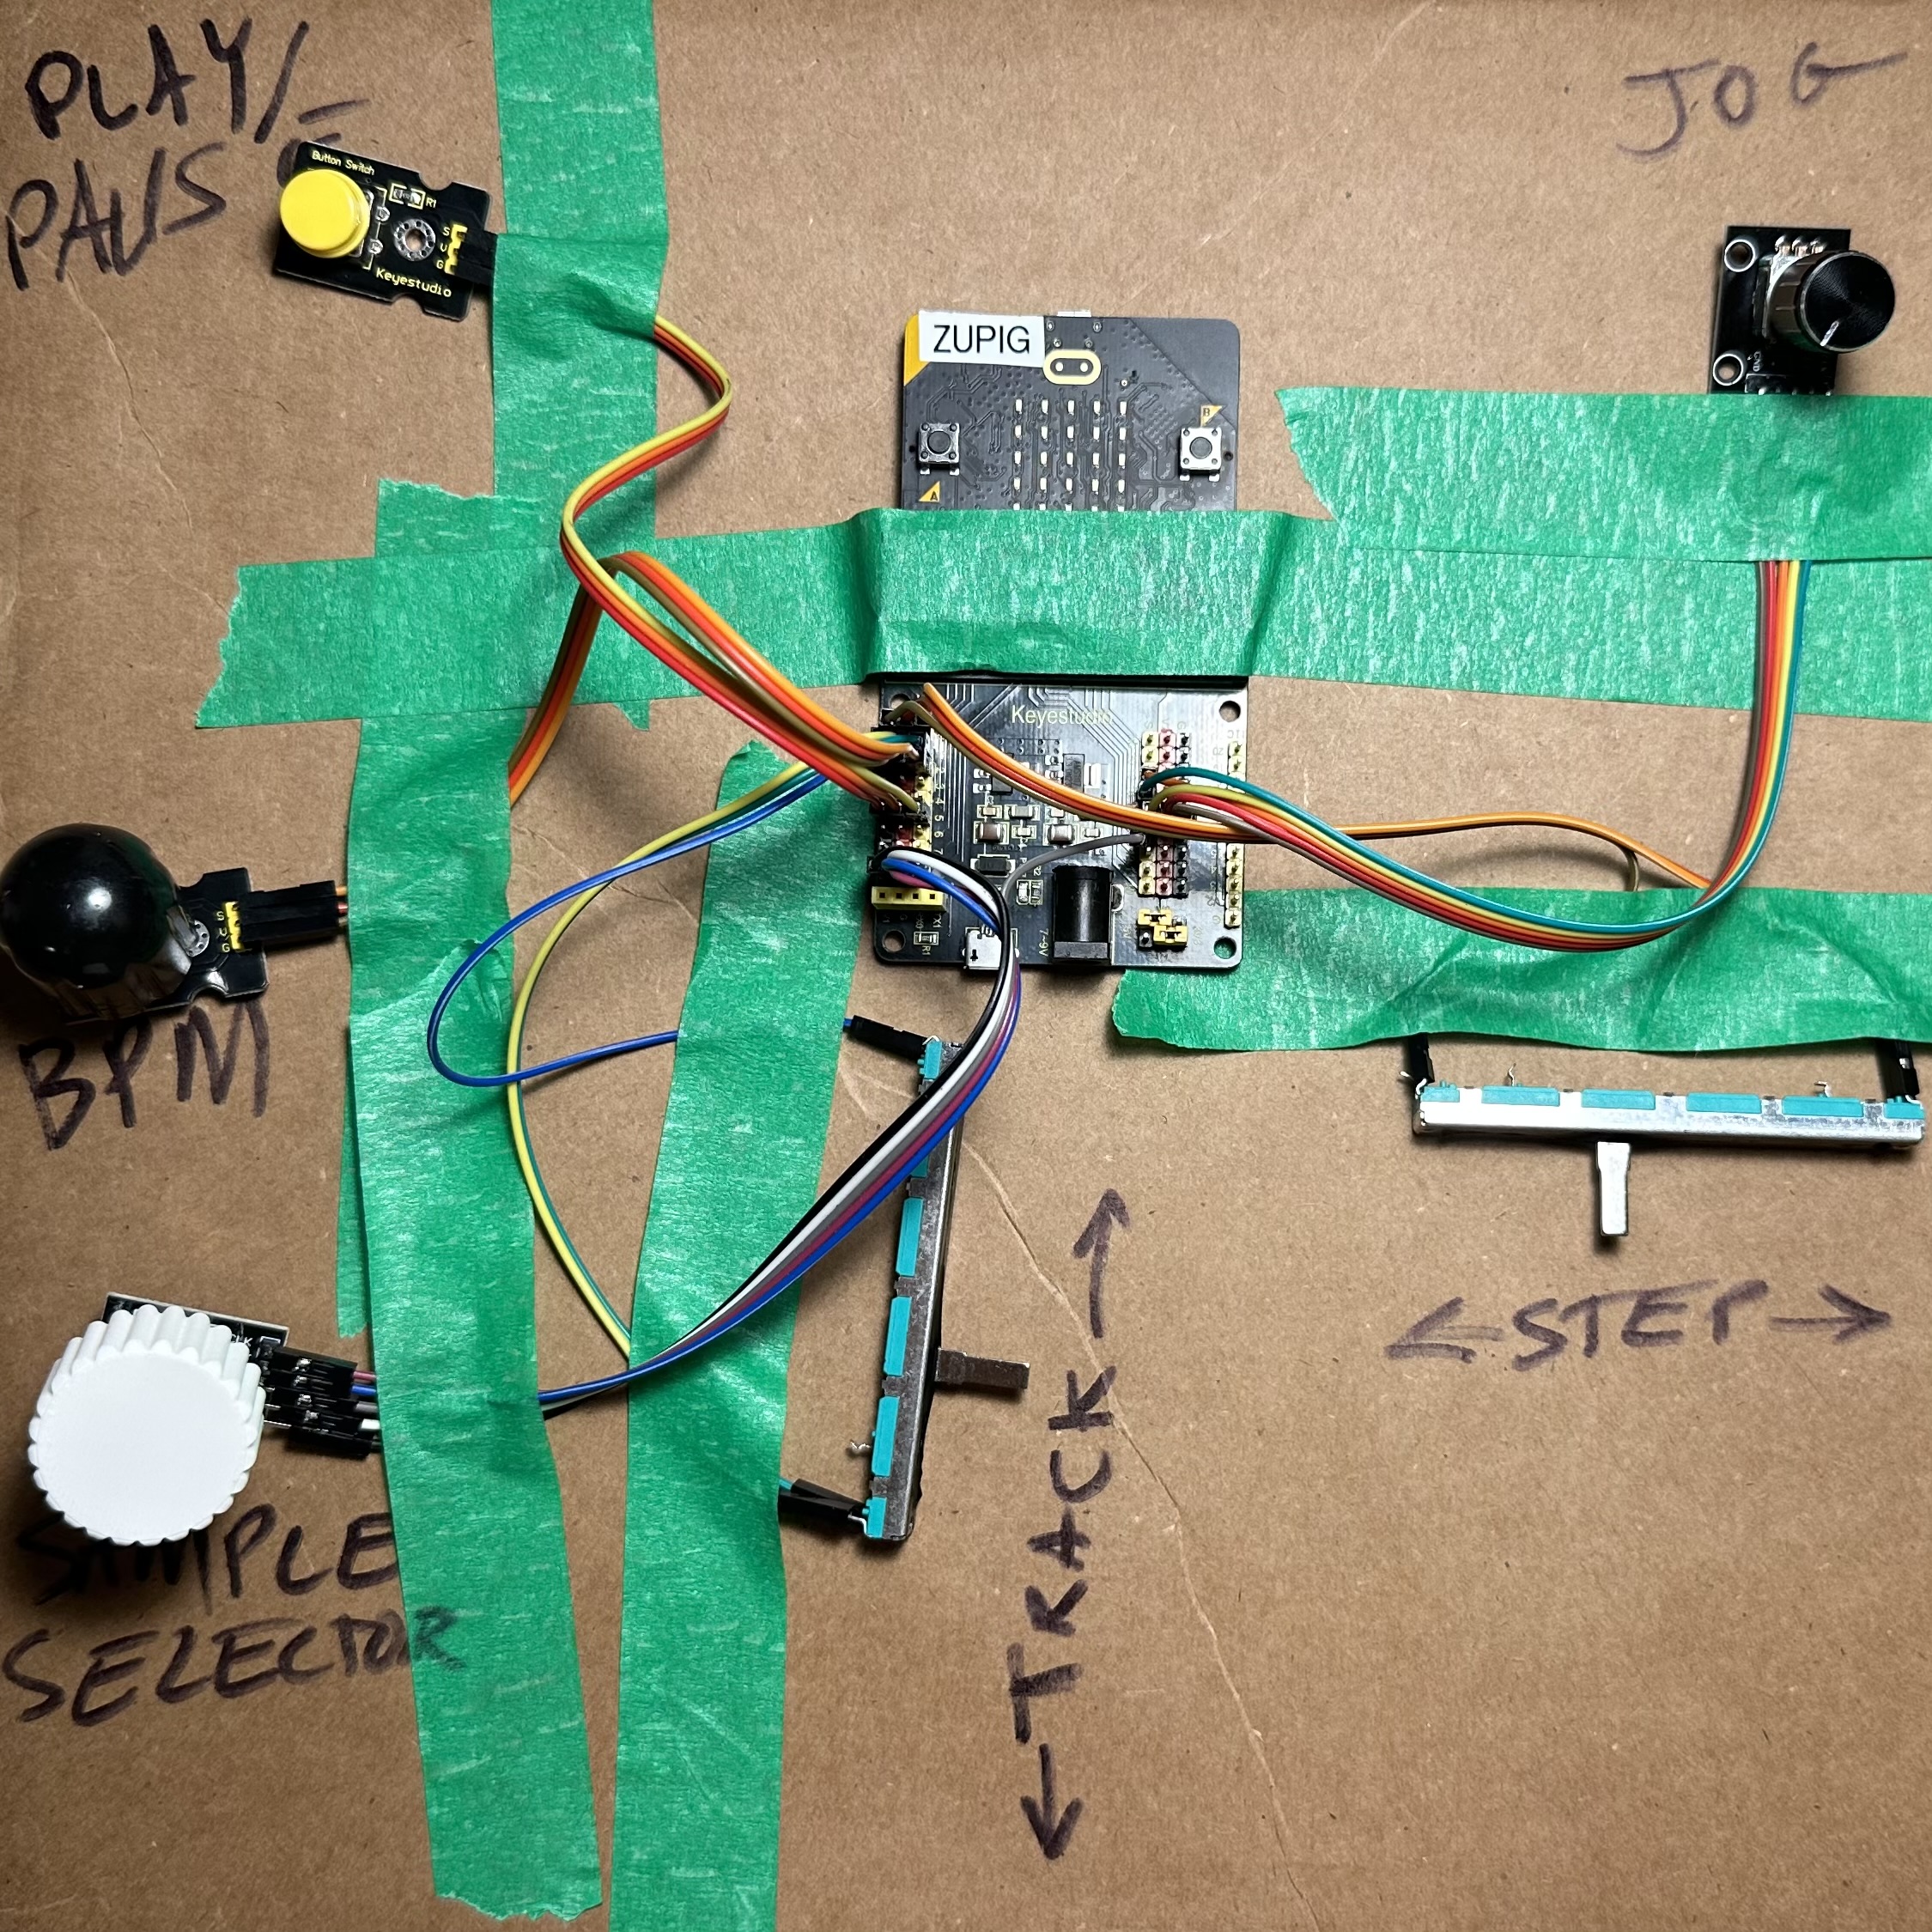
Prototype 2: Taped to cardboard
Taping everything to a piece of cardboard gives the controls a fixed position, making it easier to use while testing.
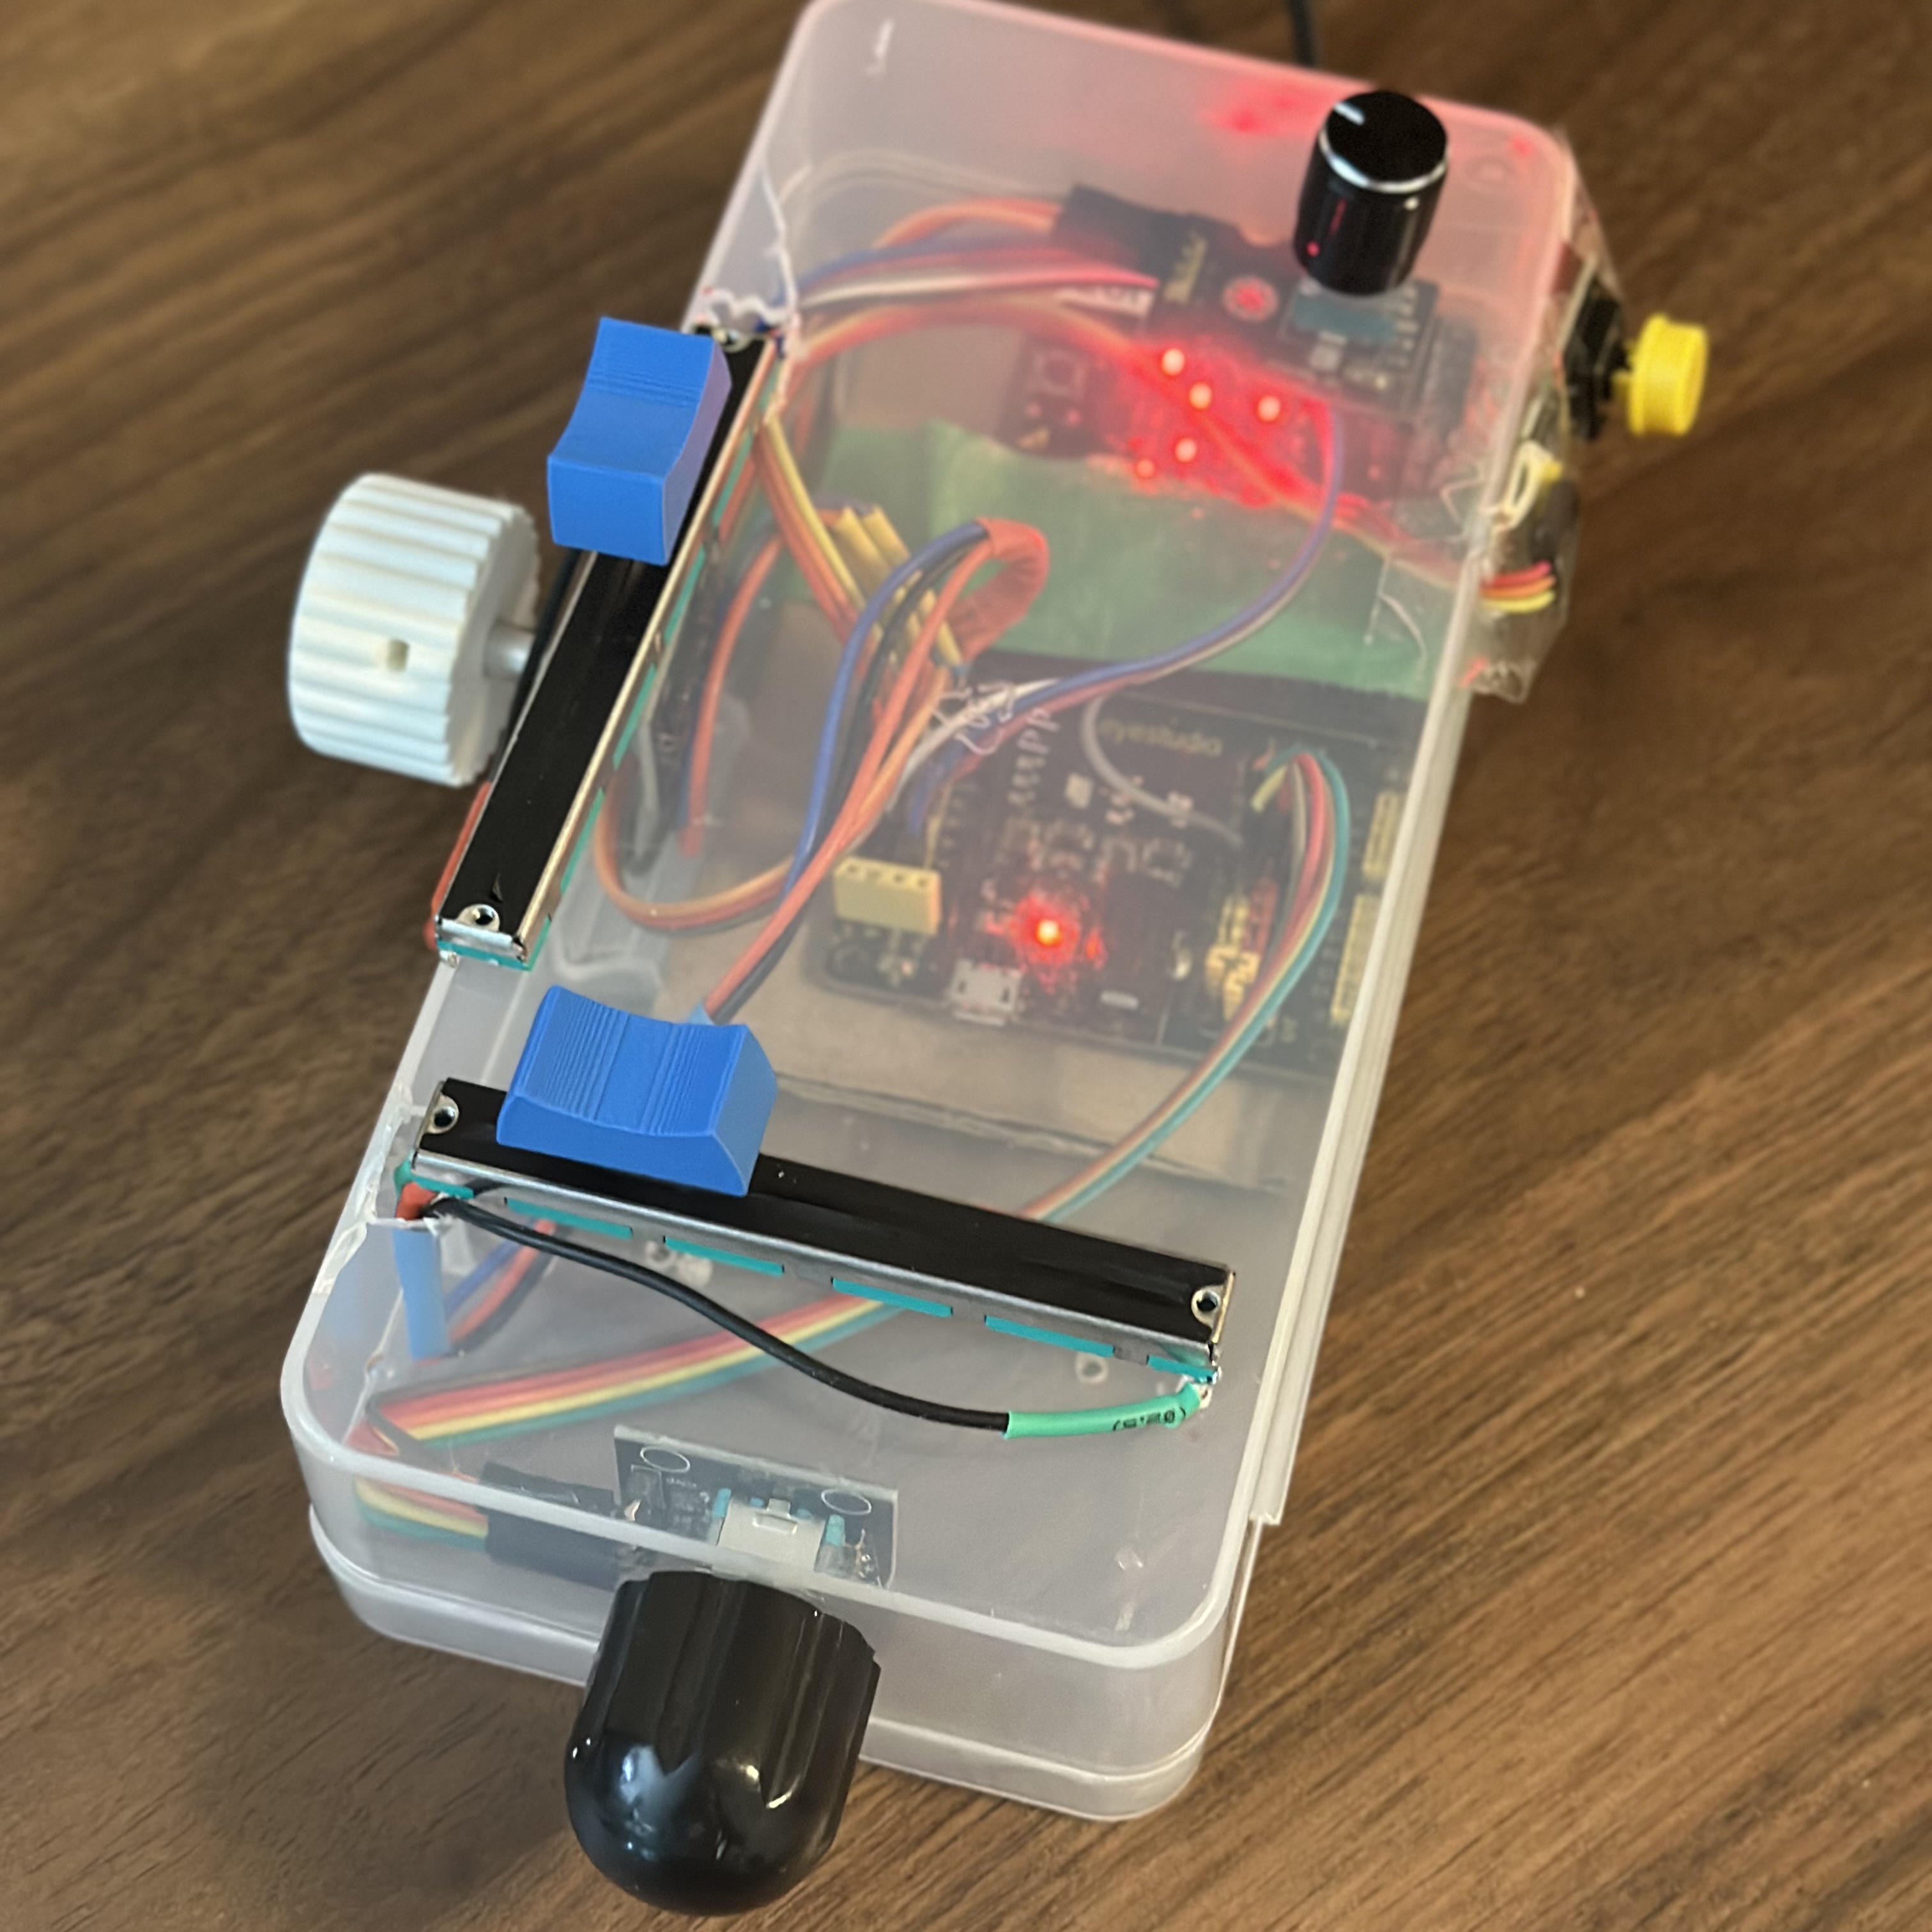
Prototype 3: In a box
Mounting the controls in a small box creates something that feels like a finished instrument.